De-energize before work
Isolate the relevant circuit and verify the safe condition using the procedure required for the site. A wall switch alone may not control every conductor.

Practical Guidance for Custom Decorative Bulb Projects
Product-based information for lighting brands, distributors, designers, contractors and commercial project buyers.
A practical pre-installation, first-power-on and handover guide for decorative bulbs used in hospitality, retail and branded commercial lighting projects.
Use this page to coordinate buyers, contractors and site teams before installation. The exact product label, supplied instructions, fixture requirements and local electrical rules always take priority. Electrical work should be completed by appropriately qualified personnel.
A decorative bulb cannot be approved in isolation from the lampholder, fixture, supply, control and location. Do not improvise around a damaged holder, uncertain rating or unverified circuit.
Isolate the relevant circuit and verify the safe condition using the procedure required for the site. A wall switch alone may not control every conductor.
Fixture wiring, lampholder repair, control changes and electrical testing belong with appropriately qualified personnel under local rules.
Use only the voltage, frequency, base, fixture type and operating conditions confirmed for the exact supplied product.
Do not install cracked glass, a loose base, damaged insulation, a distorted holder or any part showing heat or arcing damage.
This five-minute check prevents many site problems: the wrong voltage at one location, a base that looks similar but does not match, mixed dimmable and non-dimmable versions, or a glass size that cannot pass through the fixture opening.
Match the carton and bulb to the approved specification, sample and location schedule.
Confirm the marked rating against the actual project supply. Do not assume visually identical bulbs are electrically identical.
Check the base designation, holder condition, contact condition and whether the bulb can be inserted without forcing.
Inspect for cracks, chips, loose joints, deformation, contamination or transport damage before the bulb reaches the fixture.
Separate versions clearly and confirm the exact dimmer or control used for the approved project combination.
Reconcile quantities, retain spare stock and avoid mixing unapproved versions across one visible installation.
A bulb can fit the holder but still be unsuitable for the fixture. Check access, clearance, heat, environment and viewing angle before ordering production quantities.
| What to check | Why it matters | Project evidence |
|---|---|---|
| Overall diameter and length | The glass must pass through the opening and remain clear of shades, clips, cables and adjacent bulbs. | Fixture drawing, measured opening and installed mock-up |
| Base and lampholder | Similar base families are not interchangeable; worn or damaged holders can cause poor contact. | Base designation, holder label and site photo |
| Fixture rating | The lamp must stay within the fixture manufacturer’s permitted electrical and thermal conditions. | Fixture label, manual and approved lamp rating |
| Open or enclosed construction | Heat around the lamp changes substantially when airflow is restricted. | Fixture section, ventilation detail and exact lamp approval |
| Operating orientation | A long tube, large globe or specialty glass form may need a confirmed installation direction and adequate support. | Installation drawing and sample in the real holder |
| Dry, damp or exposed location | A decorative bulb is not automatically suitable for moisture, outdoor exposure or a sealed fitting. | Location classification plus fixture and lamp ratings |
| Visible glare and reflections | Clear glass and exposed filaments can be uncomfortable when viewed directly or reflected in glass and mirrors. | Full-scale mock-up at the intended mounting height |
This sequence is a coordination checklist, not a substitute for the supplied instructions or local electrical procedure. If the fixture, holder or wiring needs repair, stop and transfer the work to the responsible qualified person.
De-energize the correct circuit and verify the safe condition in accordance with the site’s electrical procedure.
Check for damage, contamination, loose components, incompatible ratings or restricted installation access.
Match the product code, base, voltage, control version and glass finish to the approved location schedule.
Support the bulb securely, keep unnecessary pressure off the glass and never force a misaligned base into the holder.
Check startup, stable output, abnormal sound, flicker, odor or unexpected heat before releasing the installation.
Document the product version, control, location, accepted appearance and spare-stock reference for future maintenance.
Use these real product pages as starting references only. The supplied sample and final production specification must confirm the base, voltage, dimming, glass, filament and intended fixture.

Check globe diameter, viewing direction, fixture opening and clearance around the visible glass.
View product →
Confirm vertical space, installation access, base alignment and protection from impact in exposed pendants.
View product →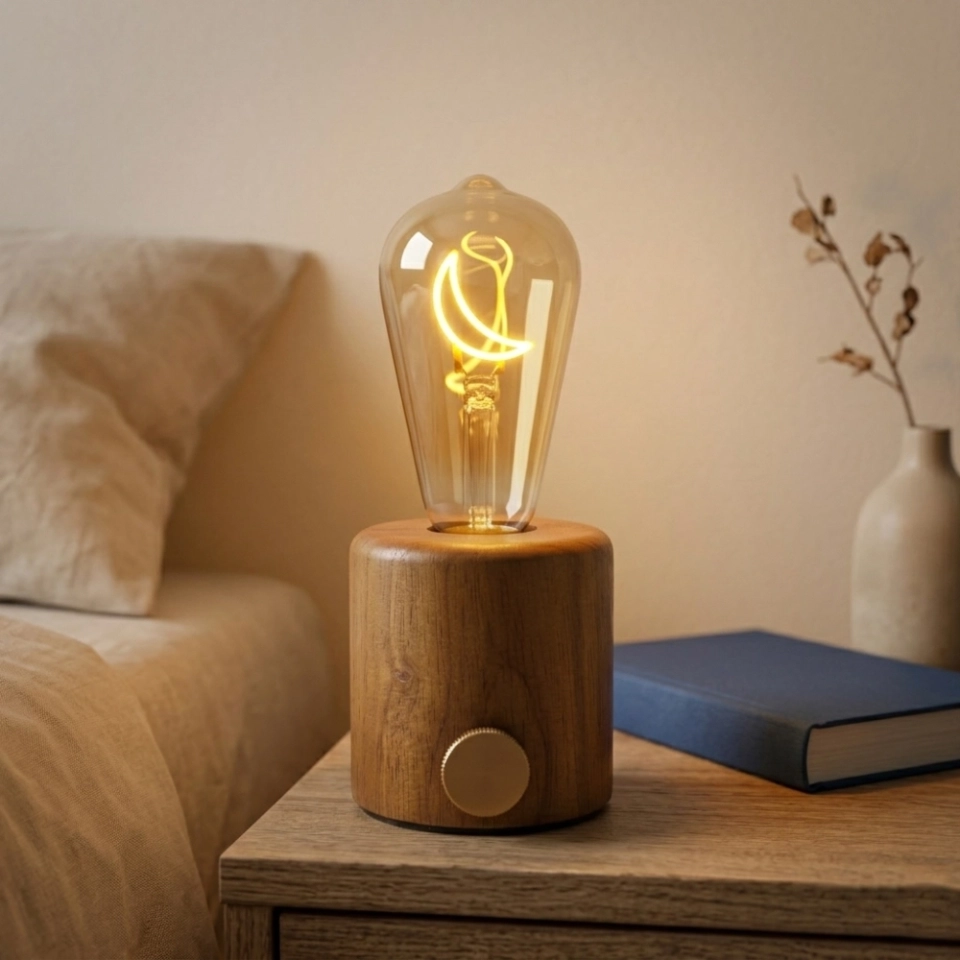
Review filament direction, glare, tint and readability from the normal customer viewing position.
View product →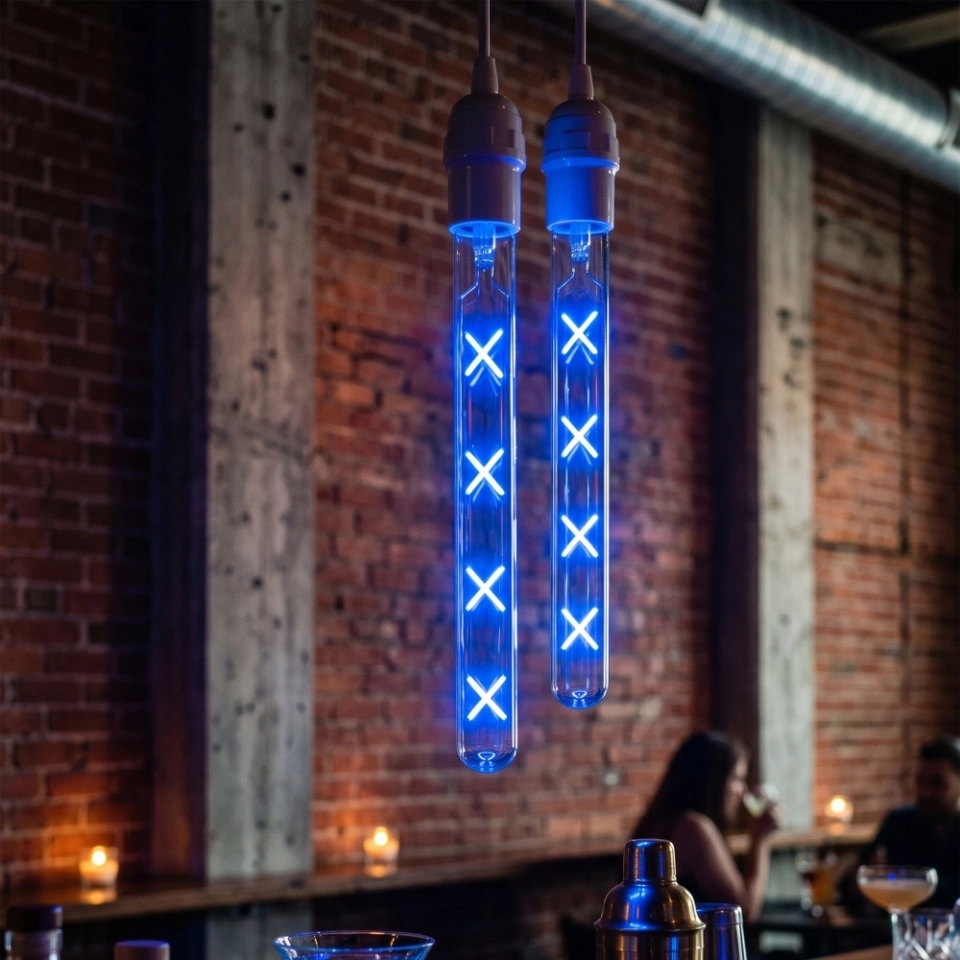
Approve the bulb in its real pendant or representative mock-up before repeating it across a project.
View product →Two bulbs can look identical when switched off and still require different supply or control conditions. Use clear model codes and location schedules to prevent cross-installation.
Confirm the target market, nominal supply and frequency for the exact product version. Never use appearance as an electrical identifier.
Read the Voltage Customization Guide →A “dimmable” label does not guarantee compatibility with every control. Approve the exact bulb, dimmer model, circuit quantity and useful range.
Read the Dimmable Bulb Guide →Separate dimmable and non-dimmable stock, voltage versions and project variants with clear carton, product and location references.
Discuss project labeling →Test a representative area first. A project-wide issue is easier to prevent after ten lamps than to diagnose after hundreds have been fitted.
All approved lamps start reliably from off under the intended switch or control condition.
Brightness, glass tint, filament direction and visual consistency match the approved reference.
Where applicable, confirm full output, useful minimum, repeated switching and the planned group load.
No unexpected flicker, pulsing, buzzing, odor, arcing, discoloration or unusual heat is observed.
Glass remains clear of surrounding parts and the holder, shade, cable and mounting remain secure.
Record the installed SKU, location, control model, sample approval and any permitted site adjustment.
Cleaning method and replacement practice should be included in handover information, especially for visible bulbs in restaurants, hotels, retail displays and multi-location programs.
Allow the bulb to cool, isolate power, use clean dry hands or suitable clean gloves, and avoid twisting or side-loading the glass.
Do not spray liquid onto an installed bulb. Avoid solvents, abrasives and wet cleaning unless the exact product instructions explicitly allow them.
Store spare bulbs dry, separated by exact SKU and protected from pressure, impact, dust and uncontrolled stacking.
Use the same product version, rating, glass and control compatibility. Record substitutions instead of mixing unknown replacements.
These checks organize communication; they are not a remote electrical diagnosis. Isolate the circuit and use qualified support whenever the fixture, wiring, holder or control must be inspected.
| Observed issue | First information to verify | Useful evidence |
|---|---|---|
| Bulb does not light | Correct SKU and rating, circuit condition, holder contact, switch/control and comparison with an approved lamp | Label photo, fixture photo, circuit/control model and location |
| Flicker, pulsing or dropout | Dimmable version, dimmer model, lamps per circuit, shared loads and useful low-end setting | Short video plus exact bulb and control records |
| Intermittent operation | Holder condition, loose contact, heat buildup, circuit behavior and whether the fault follows the bulb or location | Swap-test record completed safely by site personnel |
| Uneven appearance in a group | Mixed SKU, voltage, dimming version, batch, glass finish or filament direction | Group photo at fixed exposure and carton/label references |
| Unexpected heat or odor | Fixture rating, enclosure, airflow, supply, holder condition and surrounding material | Stop use, isolate power and escalate to a qualified person |
| Glass mark, crack or loose base | Transport, handling, impact, cleaning method and packaging condition | Do not install or continue using; photograph the product and carton |
A beautiful installation becomes difficult to maintain when product codes, control settings and approved samples disappear after opening day. Build the handover pack while the project team still has the information.
Continue to the Custom Lighting Guide →Most are coordination failures rather than styling failures. Resolve them before bulk shipment or repeat installation.
A photo cannot confirm dimensions, base, rating, dimming or real glare.
The bulb can connect correctly but still be too long, too wide or unsuitable for the fixture condition.
Identical-looking stock can be intended for different voltage or control conditions.
One lamp cannot prove dimming or appearance across the planned circuit quantity.
Cracks, a loose base or transport damage should be documented and removed from use.
Without the approved SKU and sample, later maintenance introduces visible and electrical inconsistency.
Short answers for buyers, contractors and maintenance teams. Exact product and fixture instructions remain controlling.
Follow local law, site procedures and the product and fixture instructions. Electrical work, repair, wiring changes and testing should be handled by appropriately qualified personnel. Isolate and verify the circuit before work as required.
Only when the exact lamp and fixture combination permits it. Enclosures restrict airflow and can raise operating temperature, so do not infer approval from shape or base alone.
No. Also confirm the lamp and fixture ratings, bulb dimensions, holder condition, electrical version, control, environment and installation access.
Do not assume that maximum setting is equivalent to a normal switched circuit. Use the bulb version approved for the actual control and follow the lamp and control instructions.
Allow it to cool, isolate power and use a soft, dry, lint-free cloth unless the exact product instructions state otherwise. Do not spray liquid onto an installed bulb or use abrasive cleaners.
Record the bulb version, dimmer model, number of lamps and setting. The combination may be operating outside its stable range; review it using the approved dimming test process.
Only when the complete installation has the required location rating. A decorative glass bulb is not automatically approved for moisture or outdoor exposure.
Send the product and carton labels, project code, quantity affected, fixture and control models, location, supply details, photos or video and a clear description of when the issue occurs.
Share the bulb reference, target market, fixture drawing or photo, base, voltage, control system, project quantity and schedule. We will identify the product, sample and approval questions that should be settled first.
Direct email: custom@glorilum.com
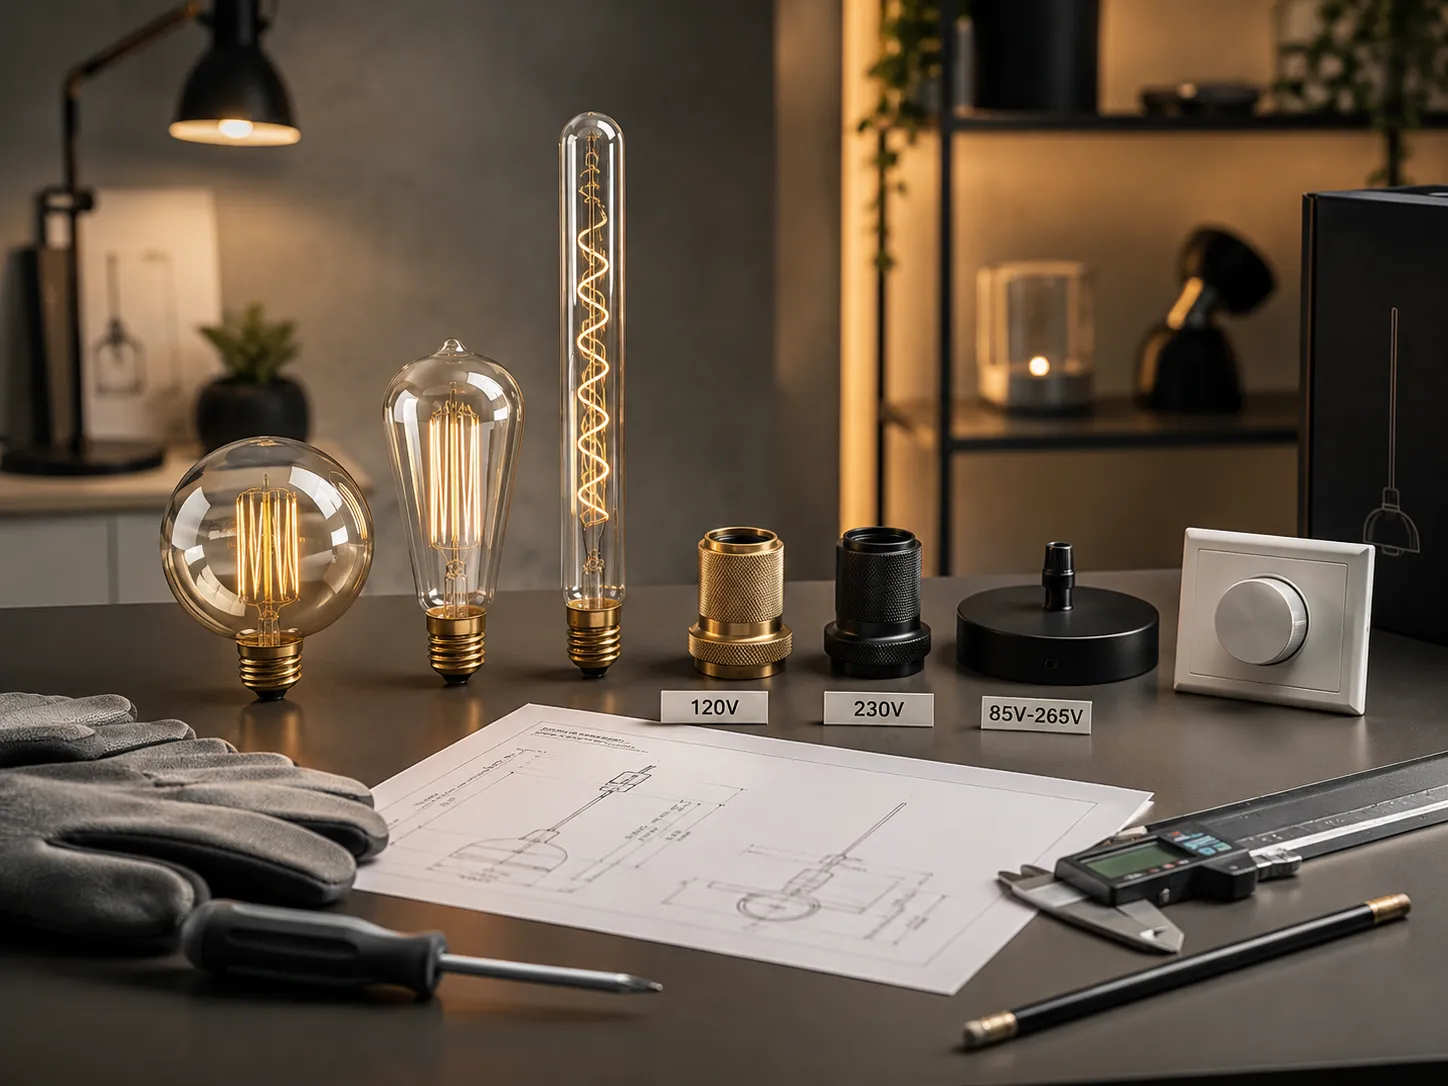
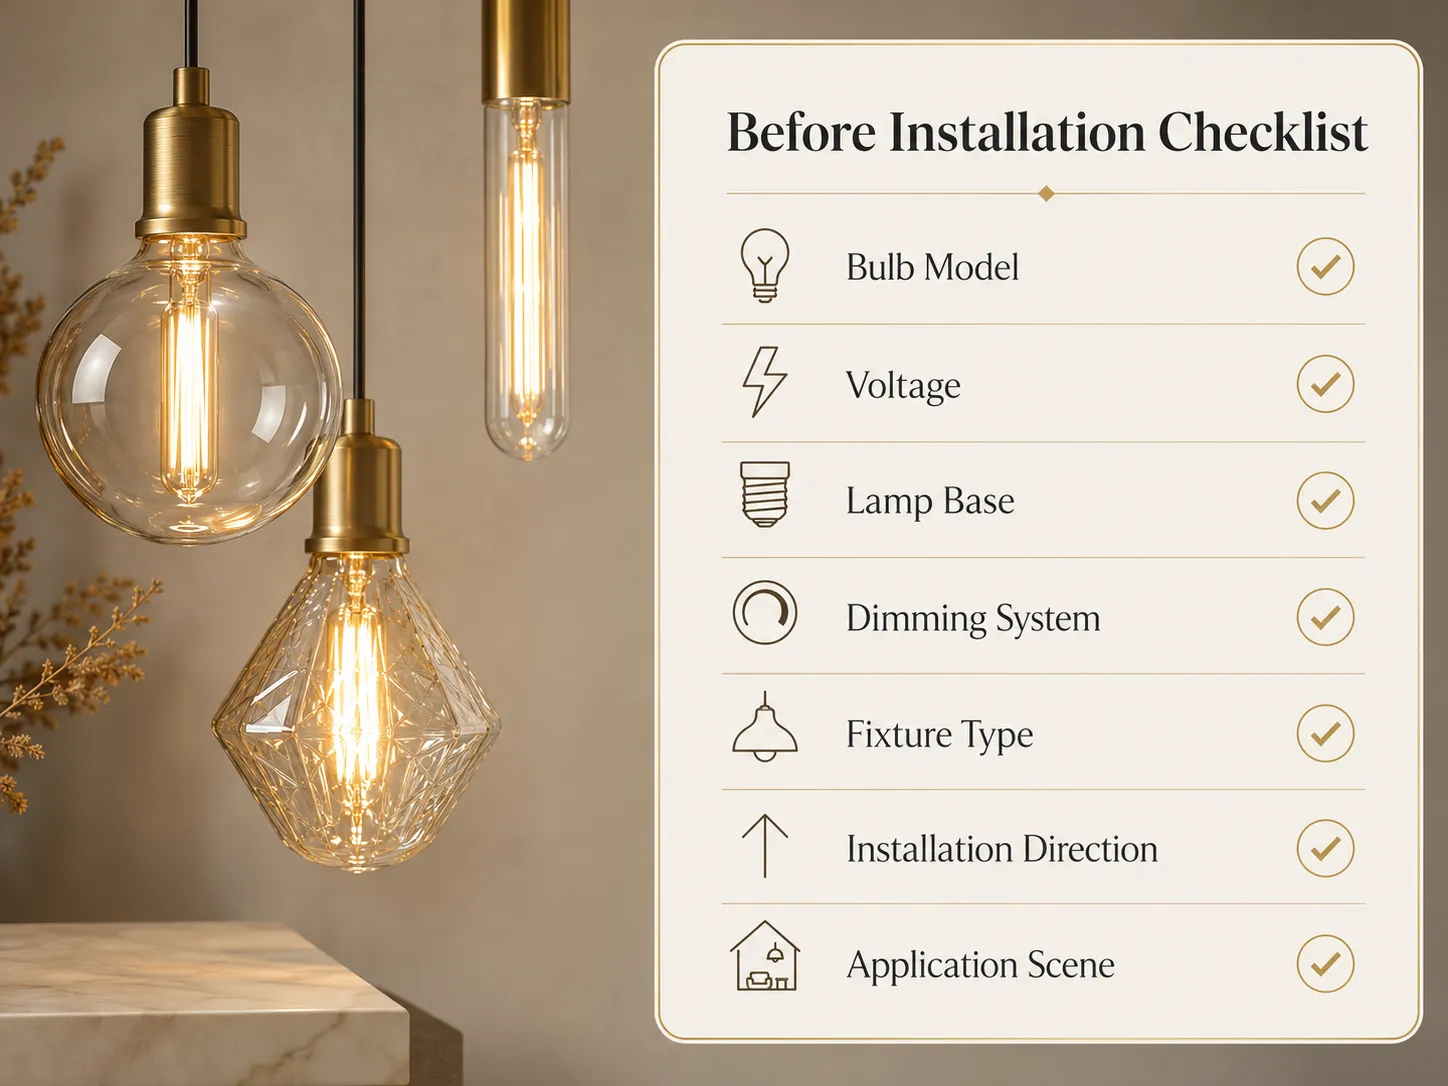
Before installing decorative glass bulbs, confirm the basic product information first. The bulb shape, size, voltage, base type, dimmable requirement and fixture structure should all match the project environment.
For commercial spaces such as restaurants, cafes, hotels, bars and retail stores, the installation should be planned together with the lighting layout, ceiling height, fixture style and desired atmosphere.
Key points to confirm
1:Bulb model and size 2:Voltage requirement
3:Lamp base type 4:Dimmable or non-dimmable version
5:Fixture compatibility 6:Installation direction
7:Application scene
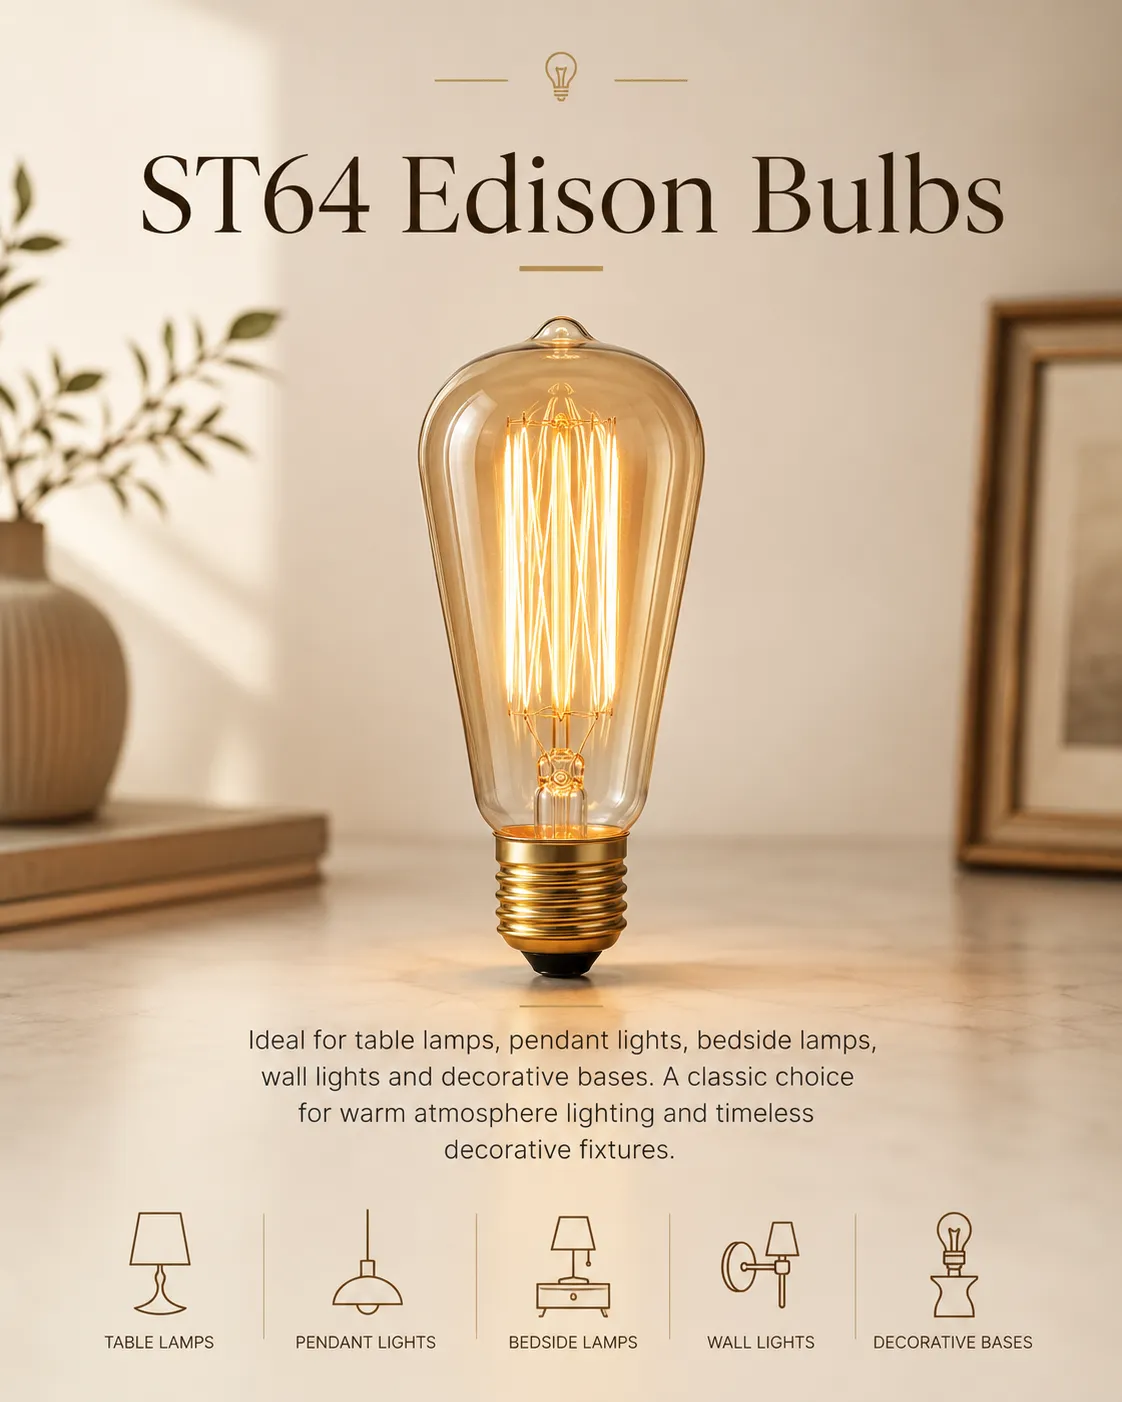
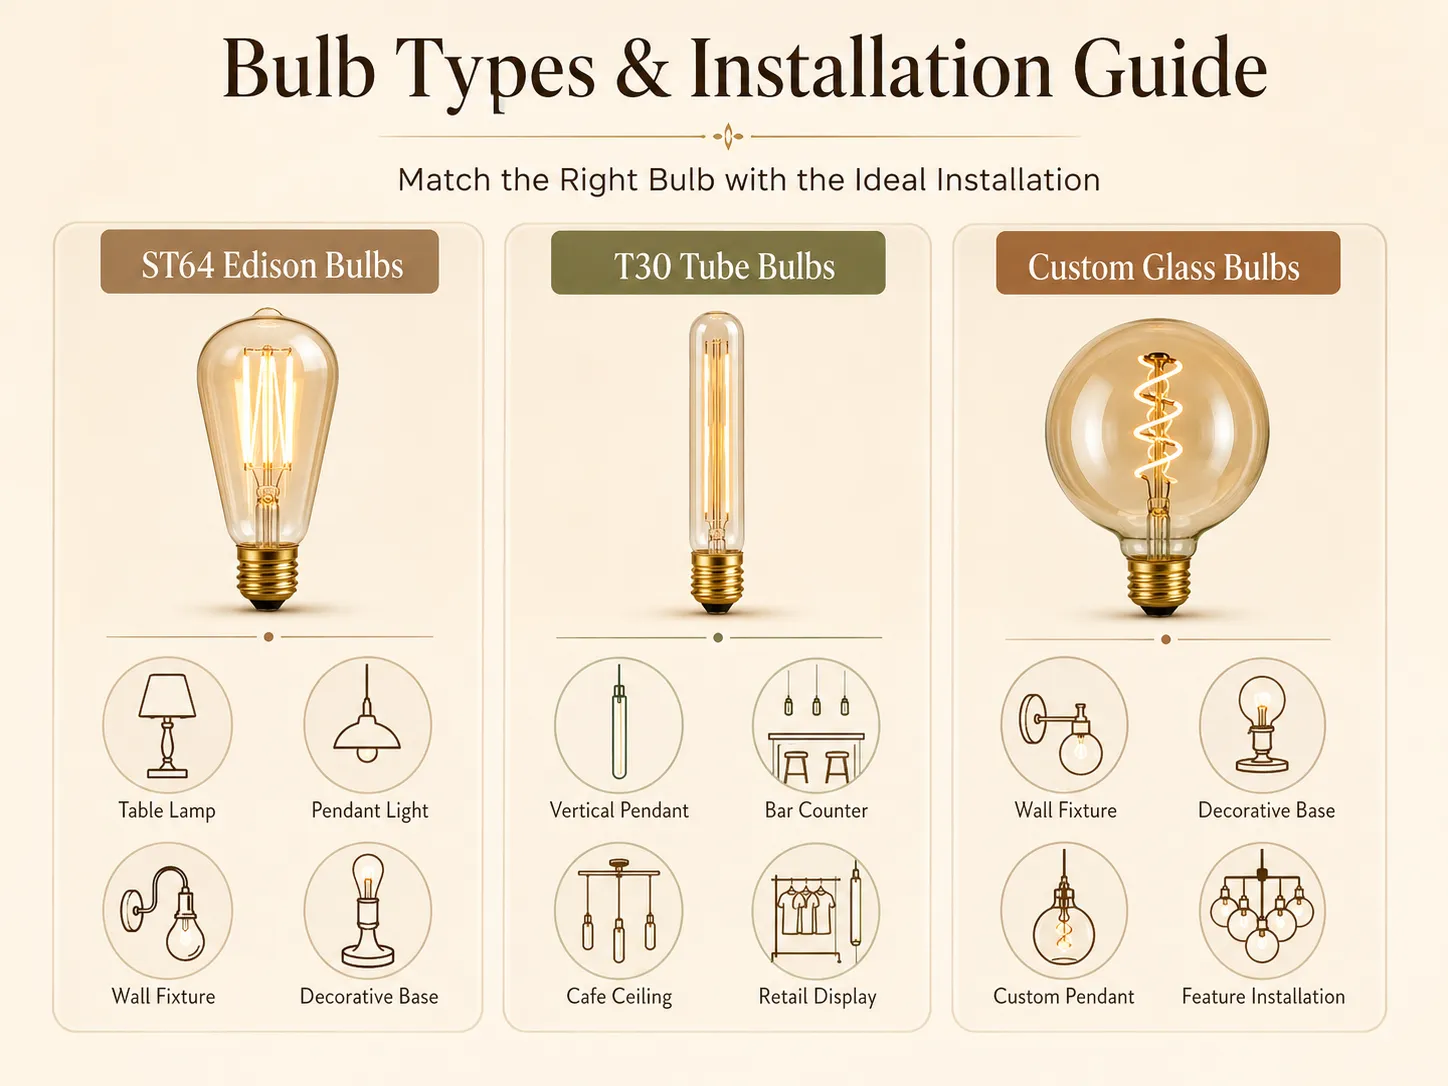
ST64 bulbs work well with table lamps, pendant lights, bedside lamps, wall lights and decorative bases. They are suitable for warm atmosphere lighting and classic decorative fixtures.
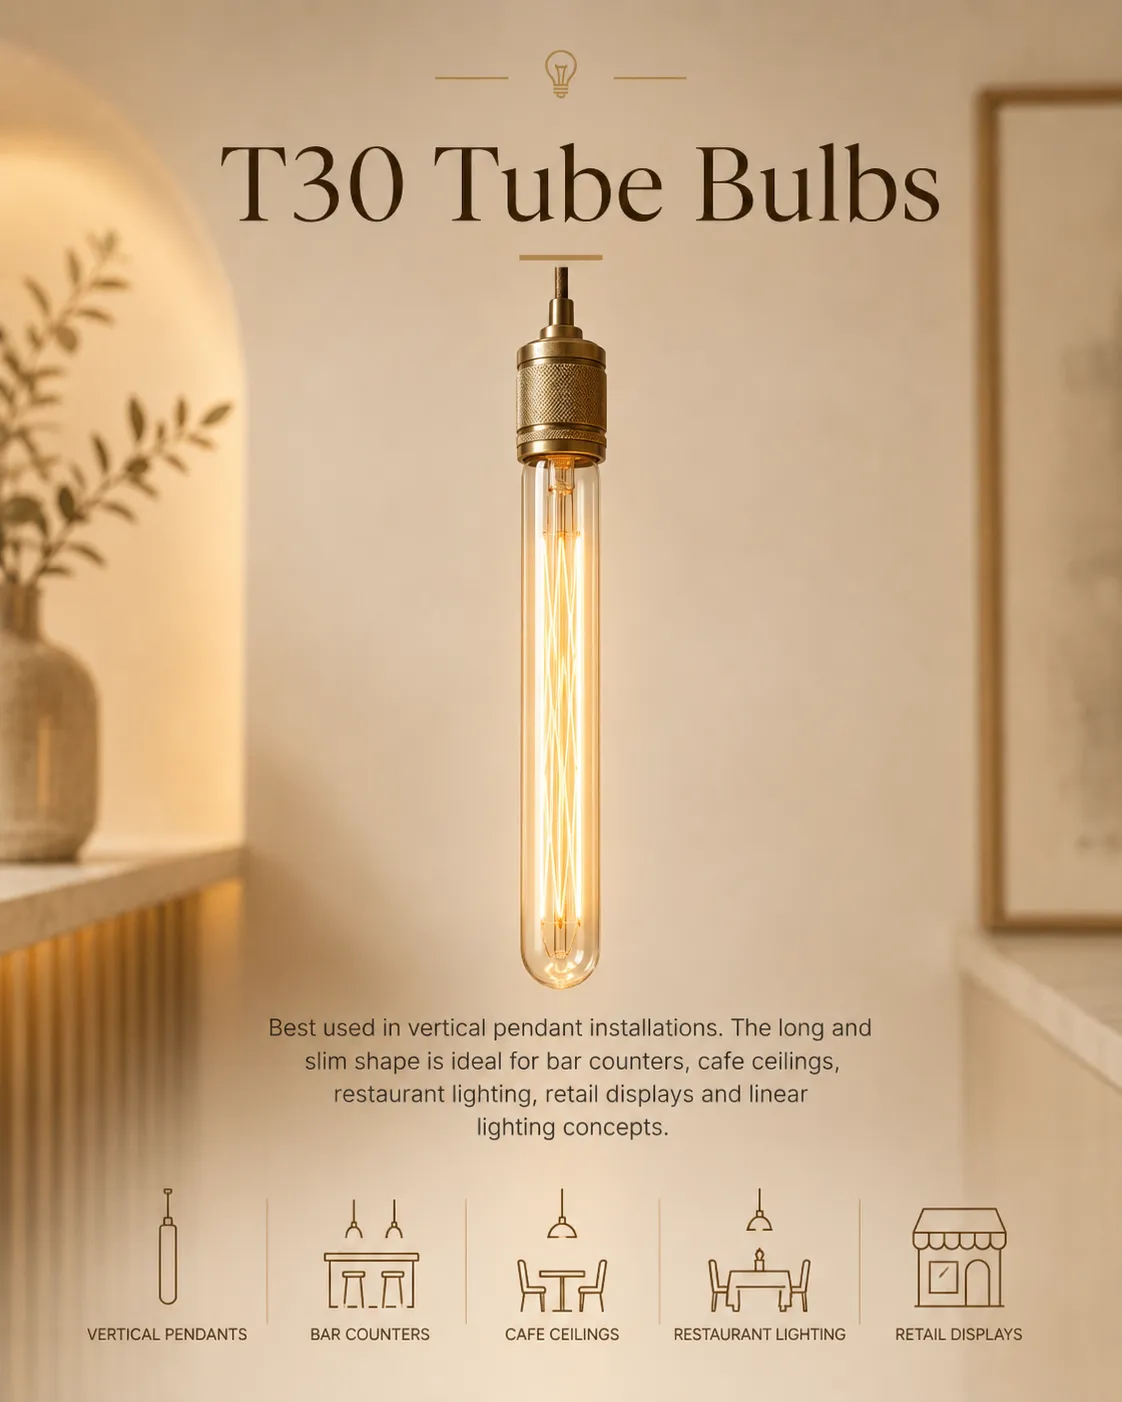
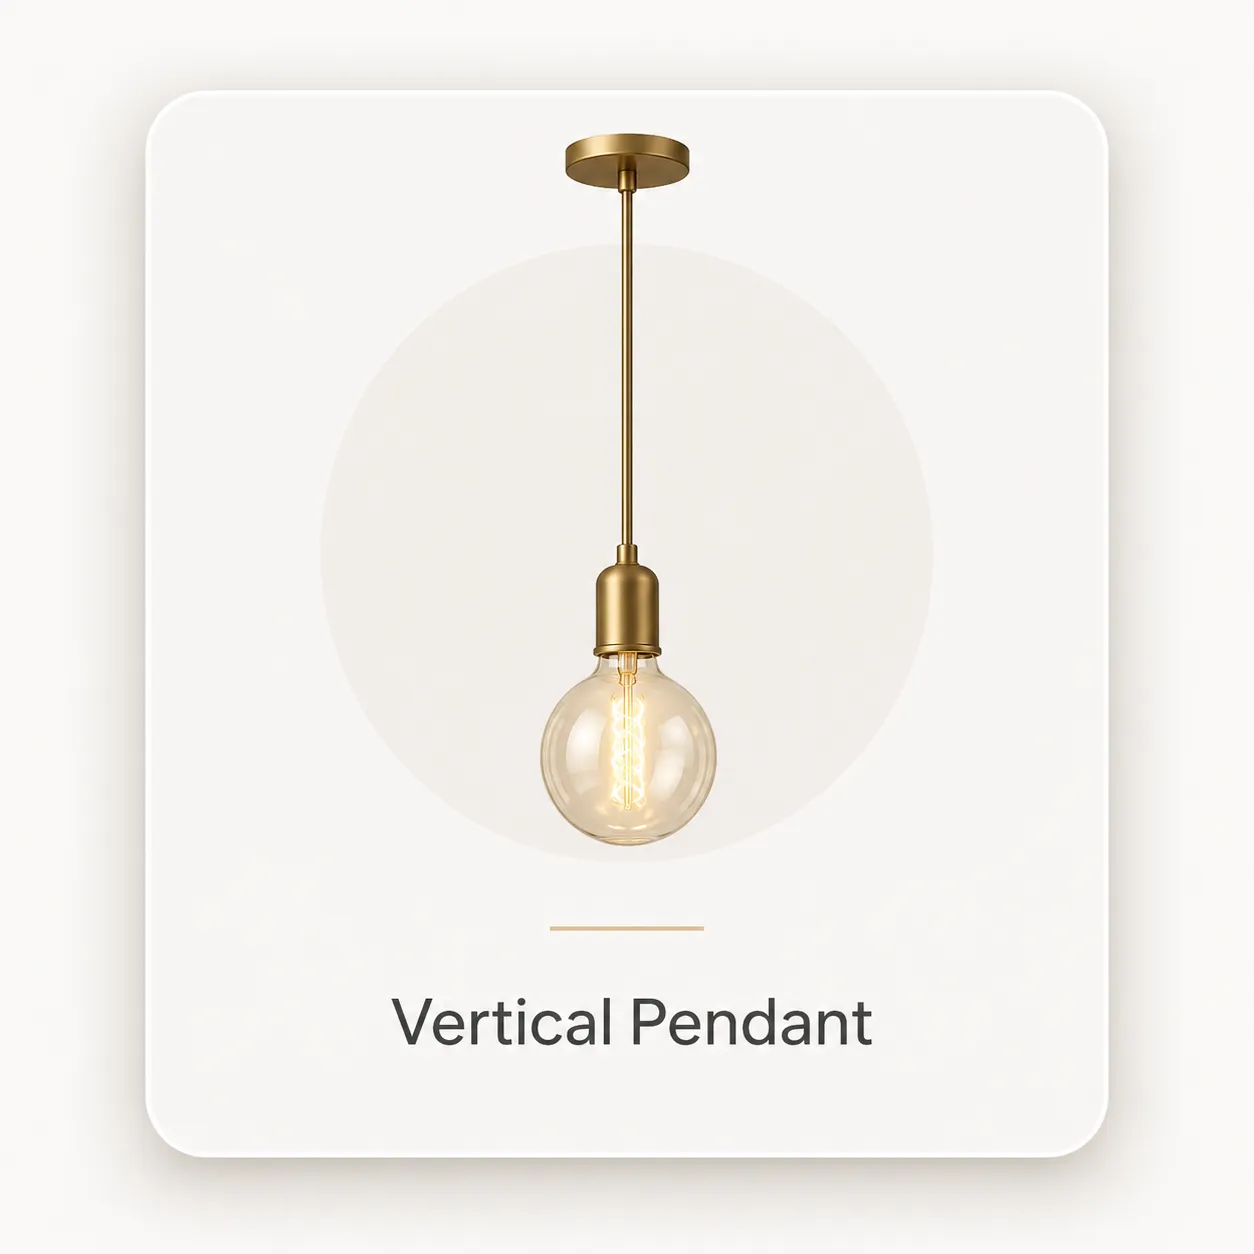
T30 tube bulbs are best used in vertical pendant installations. Their long and slim shape is suitable for bar counters, cafe ceilings, restaurant lighting, retail displays and linear lighting concepts.
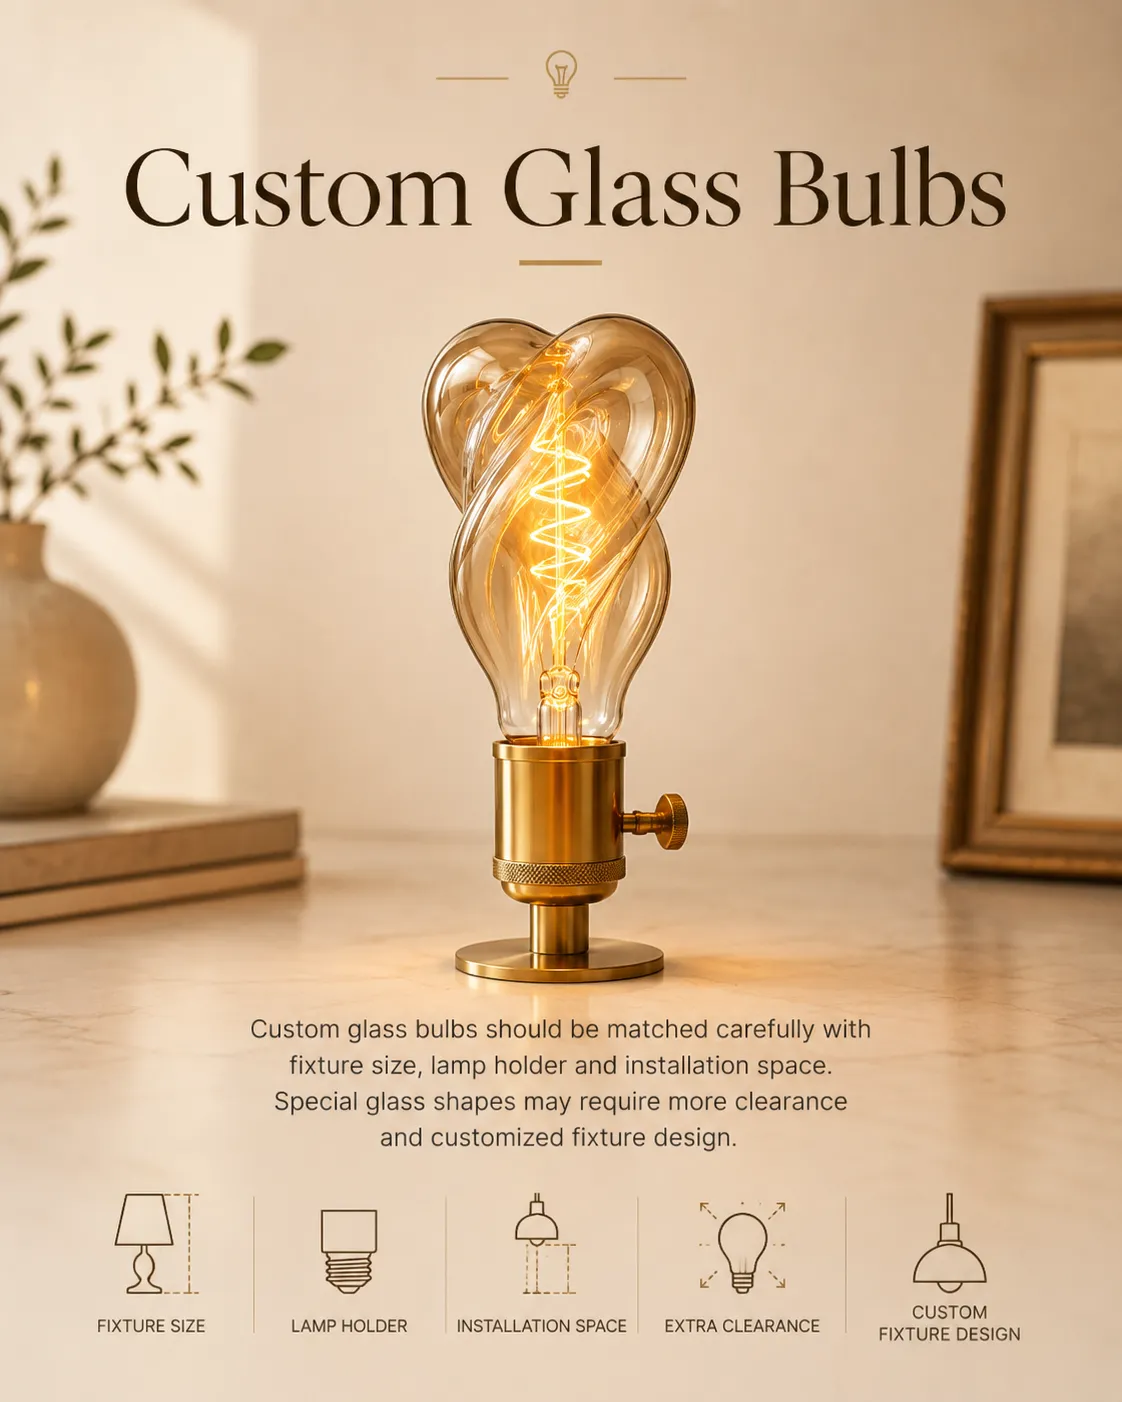
Custom glass bulbs should be matched carefully with the fixture size, lamp holder and installation space. Special glass shapes may require more clearance and a customized fixture design.
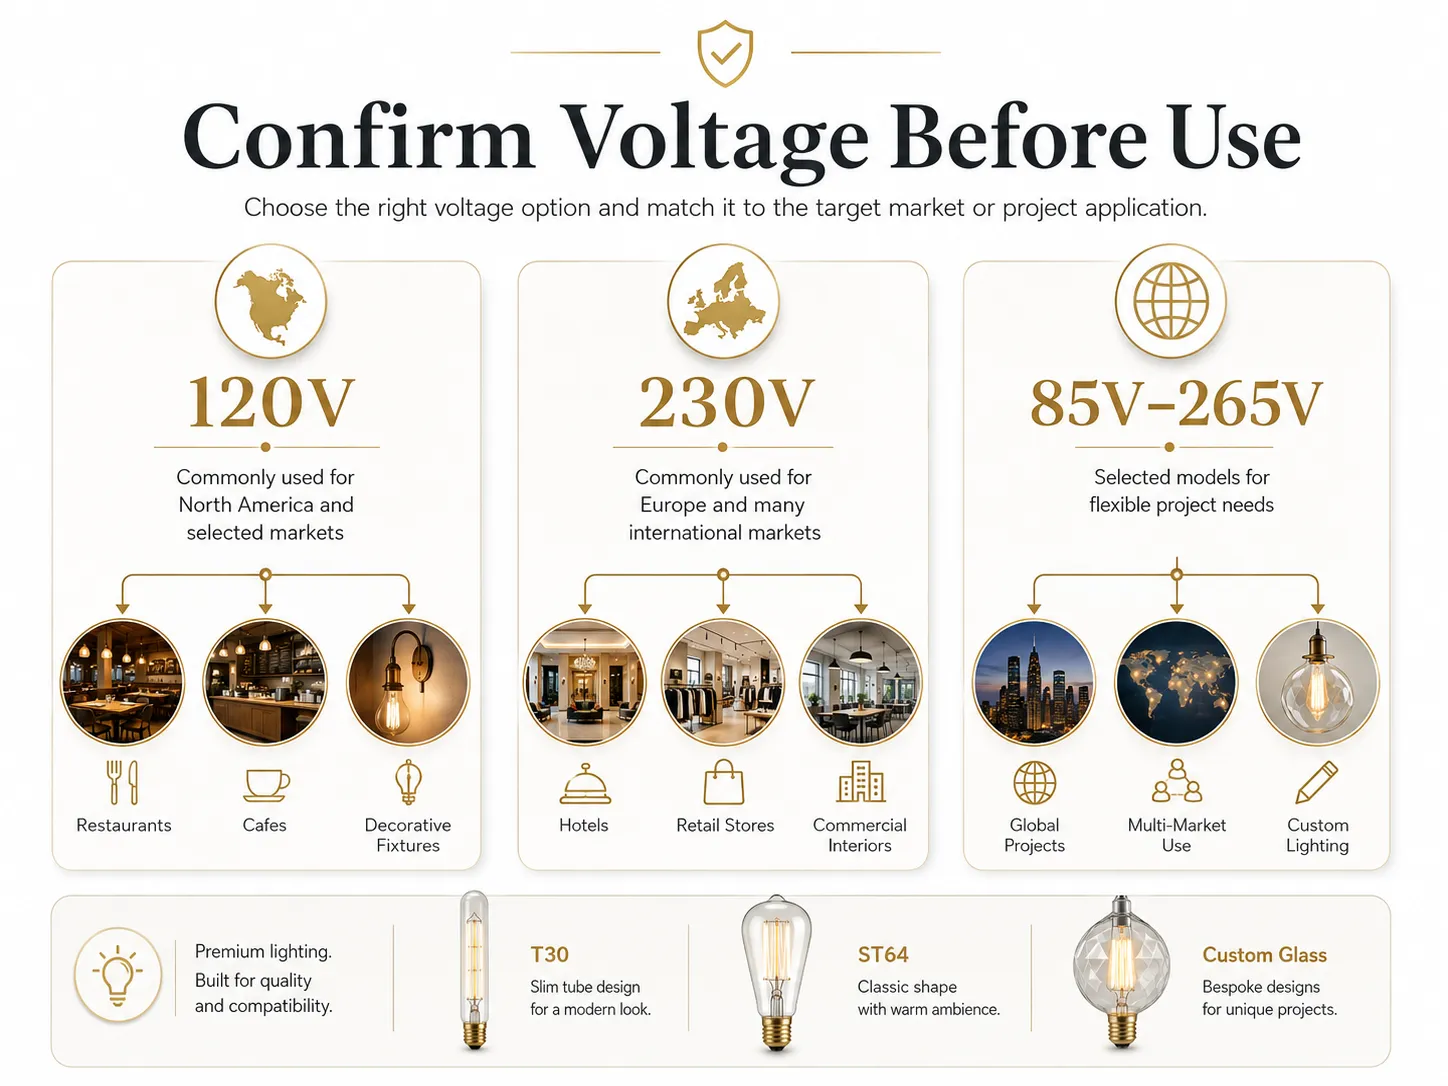
Voltage must be confirmed before use. A decorative bulb should match the electrical system of the target market or installation location.
Common voltage options include 120V for North America, 230V for Europe and many international markets, and selected wide voltage options such as 85V-265V for certain product models.
Using the correct voltage helps improve product compatibility and stable lighting performance.
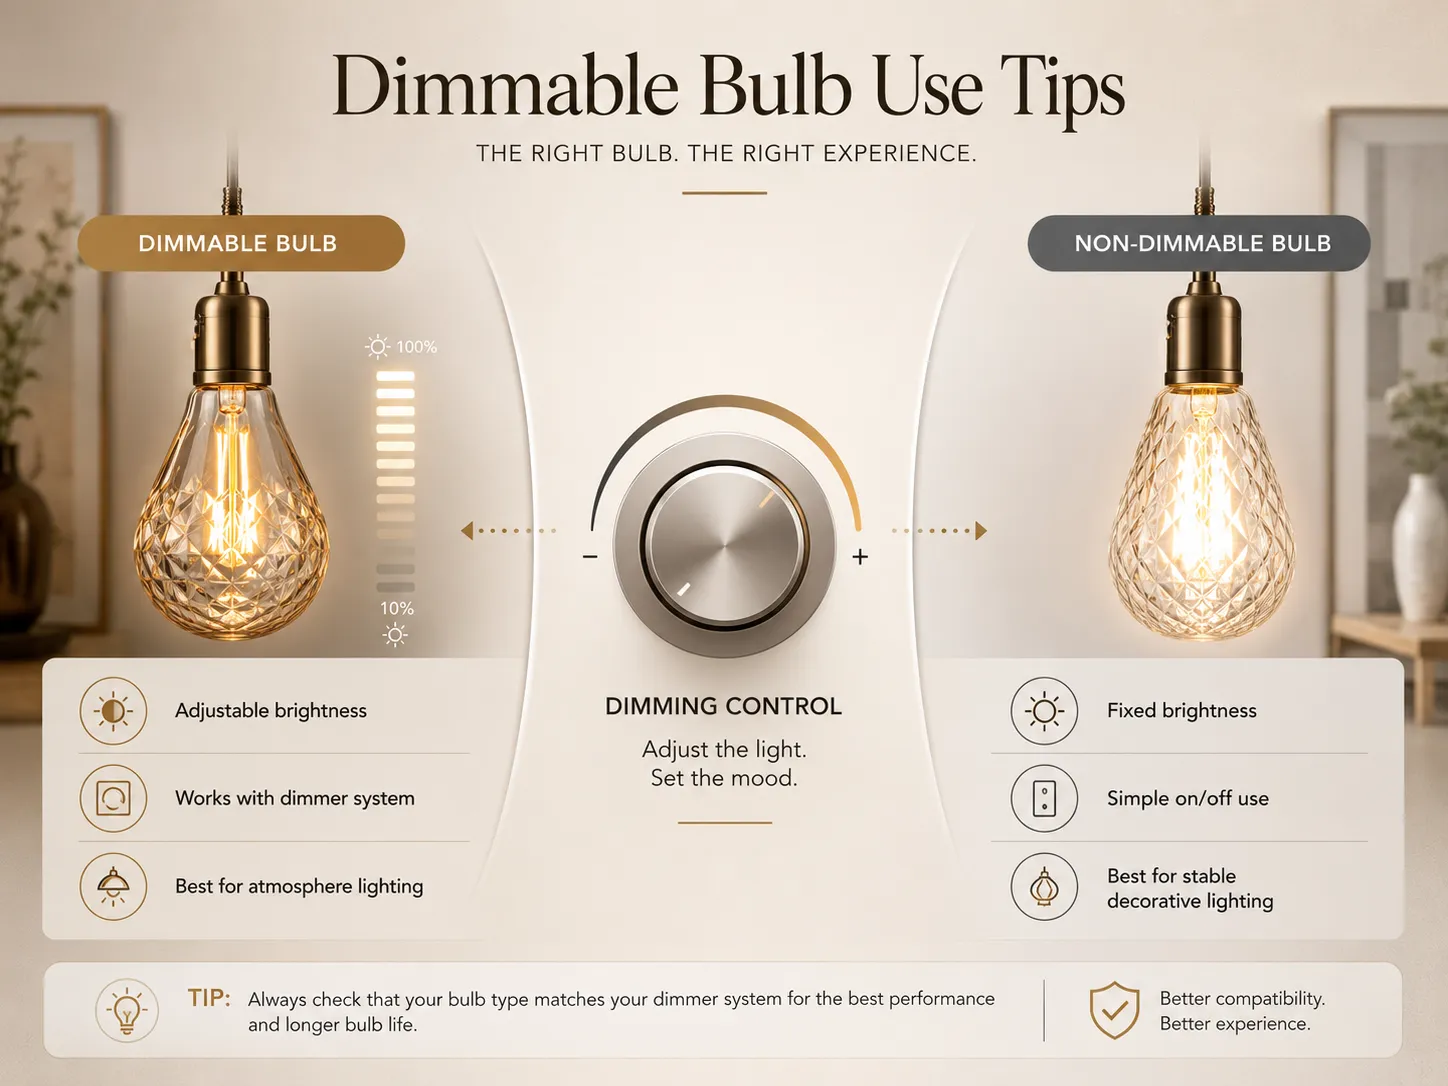
If the bulb is dimmable, confirm that the dimming system matches the bulb design and fixture environment. Dimmable decorative bulbs are useful for restaurants, hotels, bars and lounges because the brightness can be adjusted for different times of day.
Non-dimmable bulbs are suitable for fixed decorative lighting, product displays and spaces where one stable brightness level is enough.
Before using dimmable bulbs, confirm
1:Voltage requirement
2:Dimmer type
3:Fixture system
4:Lamp holder
5:Application space
6:Expected brightness level
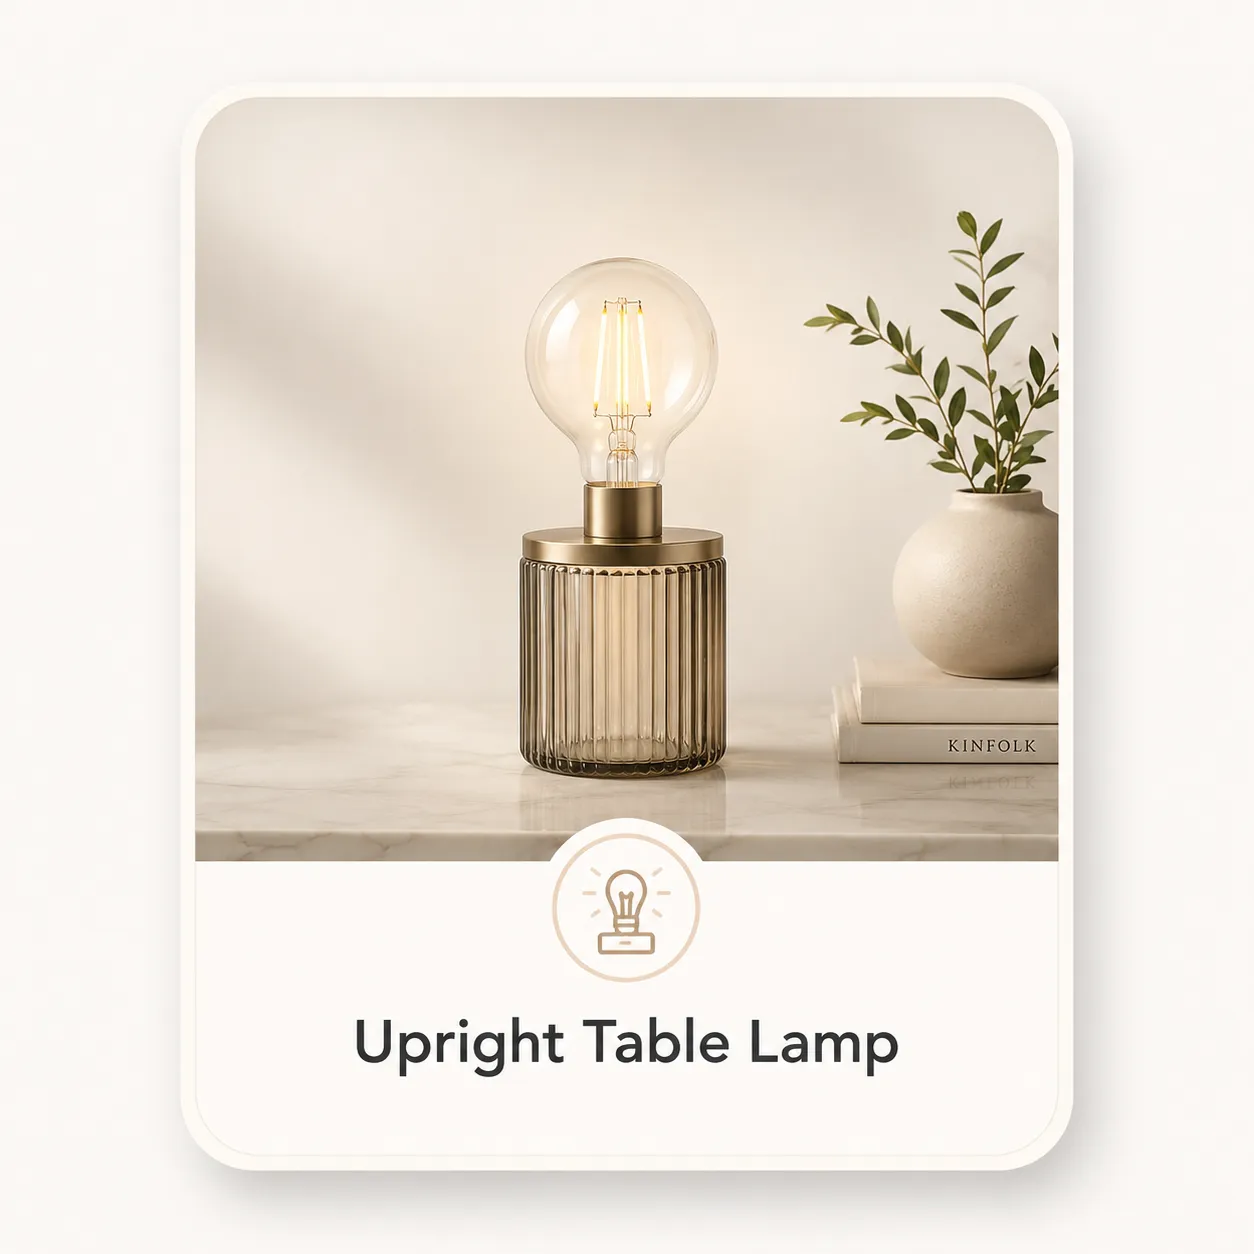
Upright Installation
Suitable for table lamps, bedside lamps and decorative bases. ST64 bulbs and some custom glass bulbs work well in upright installations.
Suitable for T30 tube bulbs, elongated bulbs and selected custom designs. This installation style is common in cafes, bars, restaurants and retail stores.
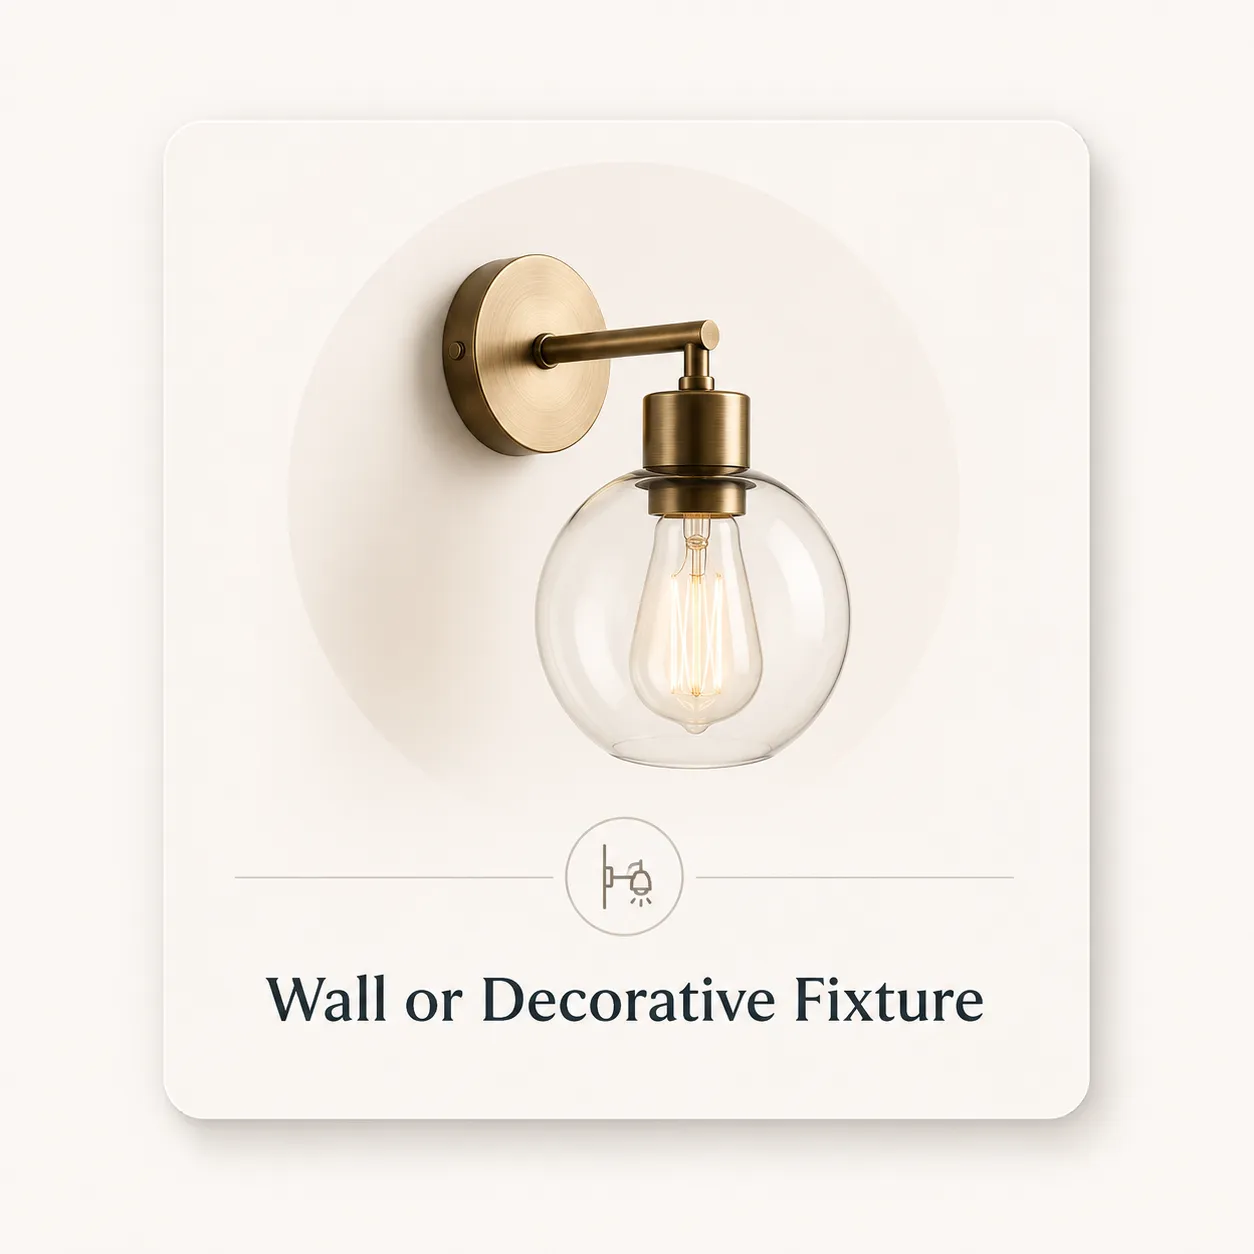
Suitable for wall lights, branded fixtures, hotel lighting and custom project applications. The bulb shape should match the fixture space and visual direction.
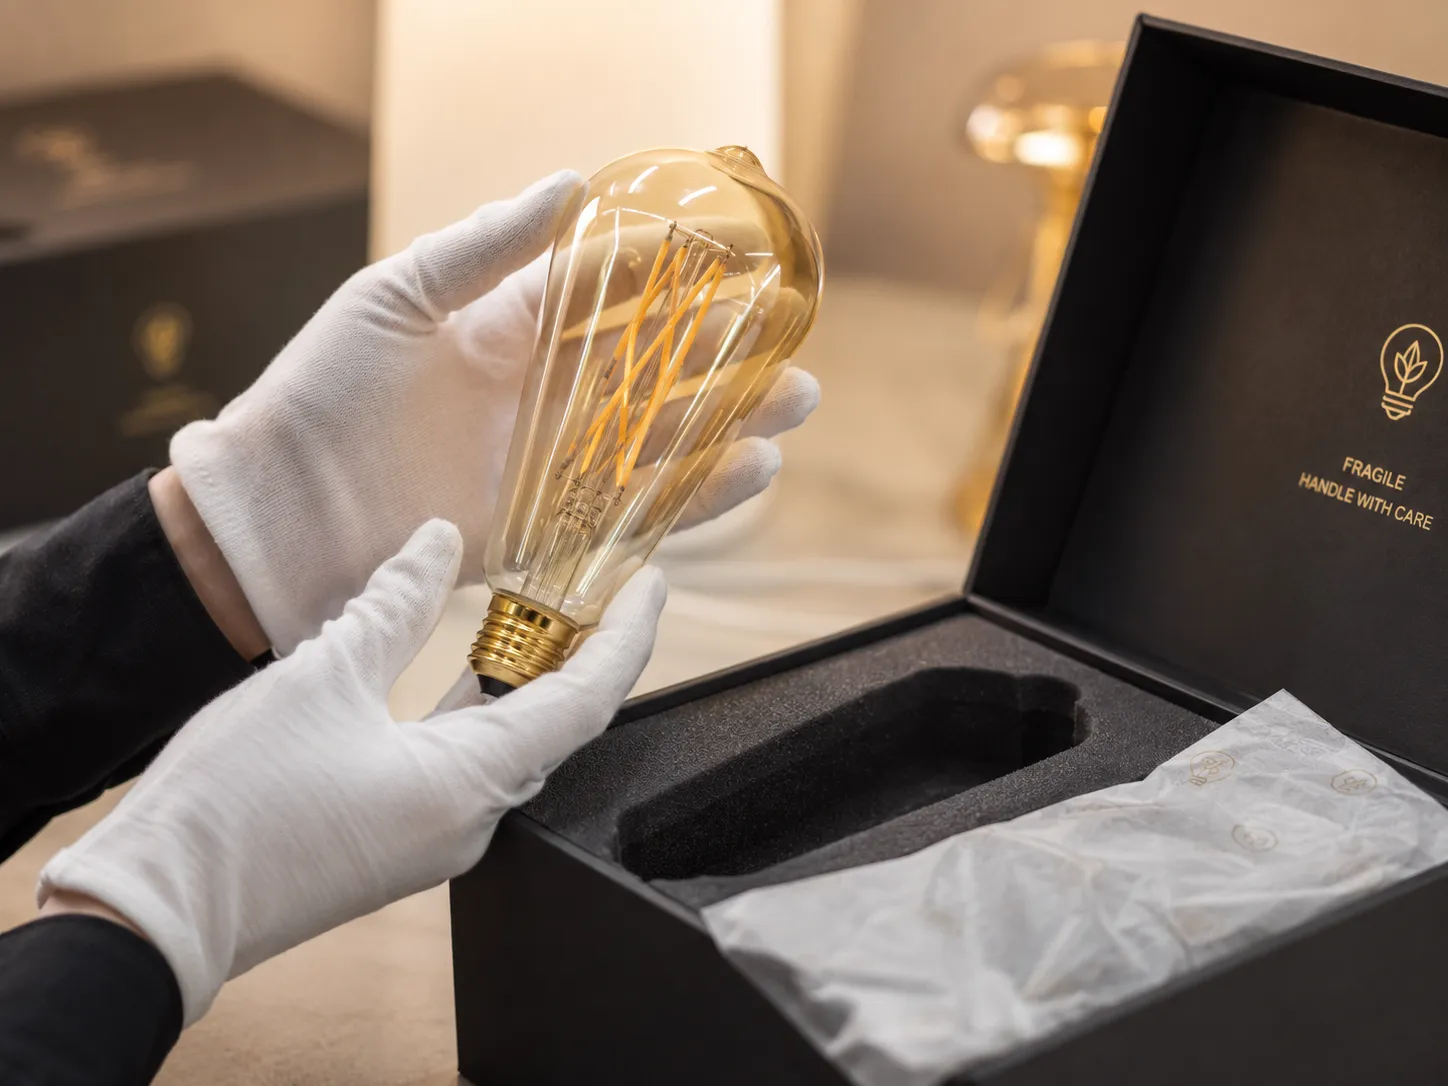
Decorative glass bulbs should be handled carefully during installation, display and replacement. Glass shells may have clear, champagne, smoke gray or custom finishes, so fingerprints, scratches and strong impact should be avoided.
Use clean hands or soft gloves when handling glass bulbs. Avoid holding the filament structure or applying pressure to the glass surface. Always let the bulb cool down before touching or replacing it.
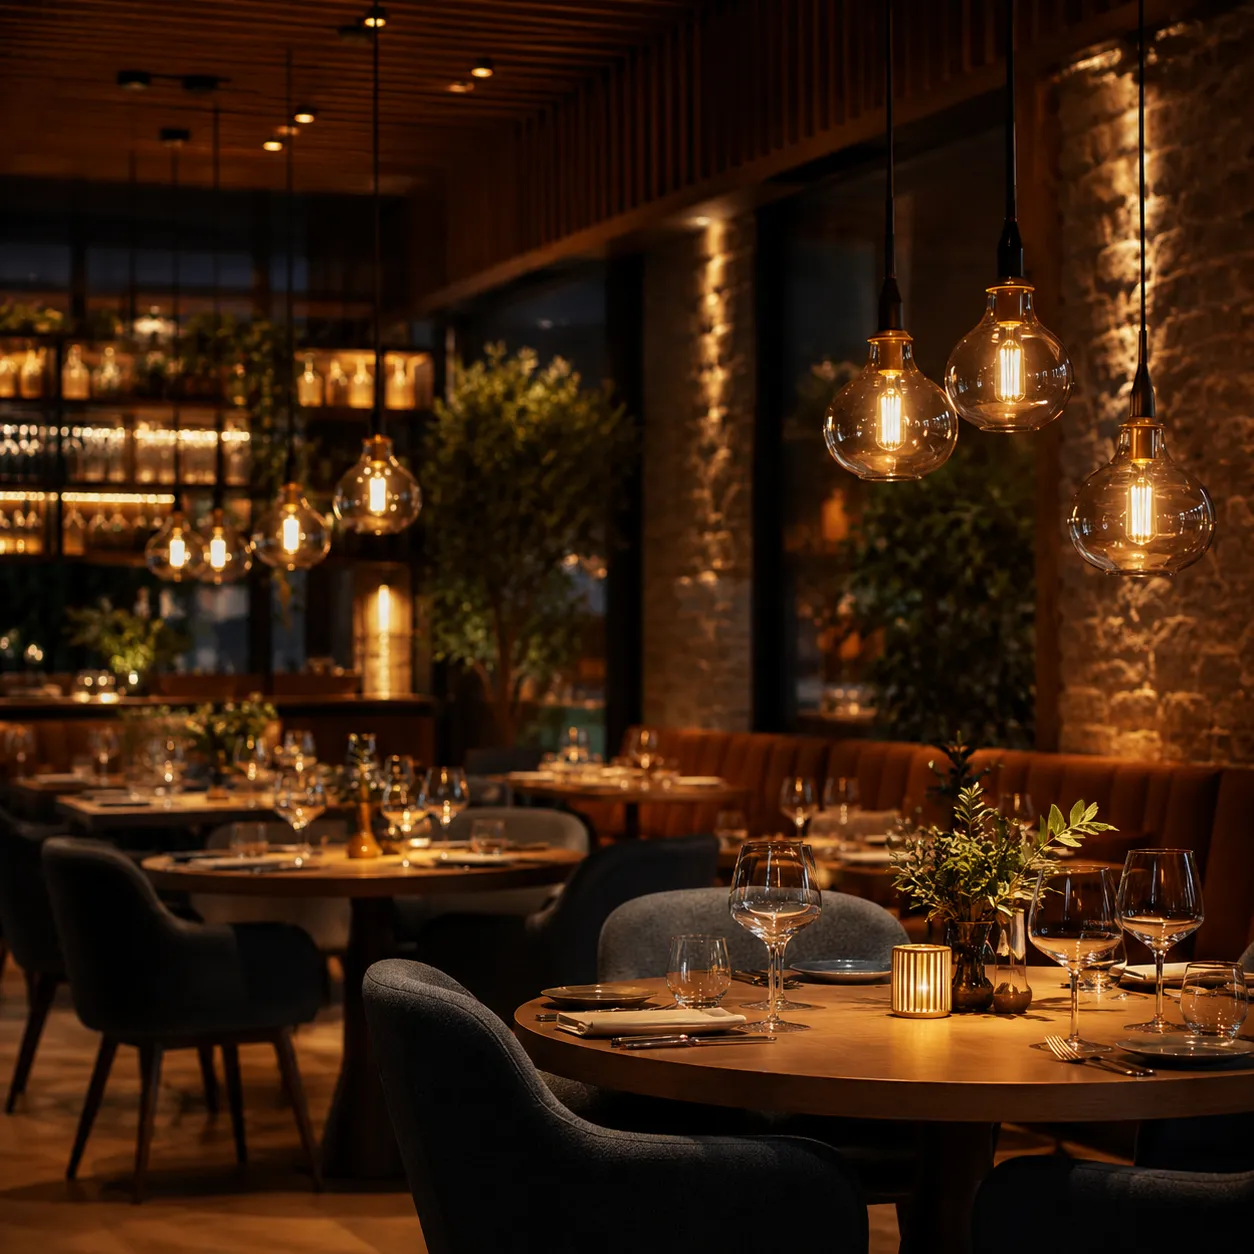
Restaurants
Use warm and dimmable decorative bulbs to create comfortable dining atmosphere. Place bulbs carefully to avoid glare directly in the customer’s eyes.
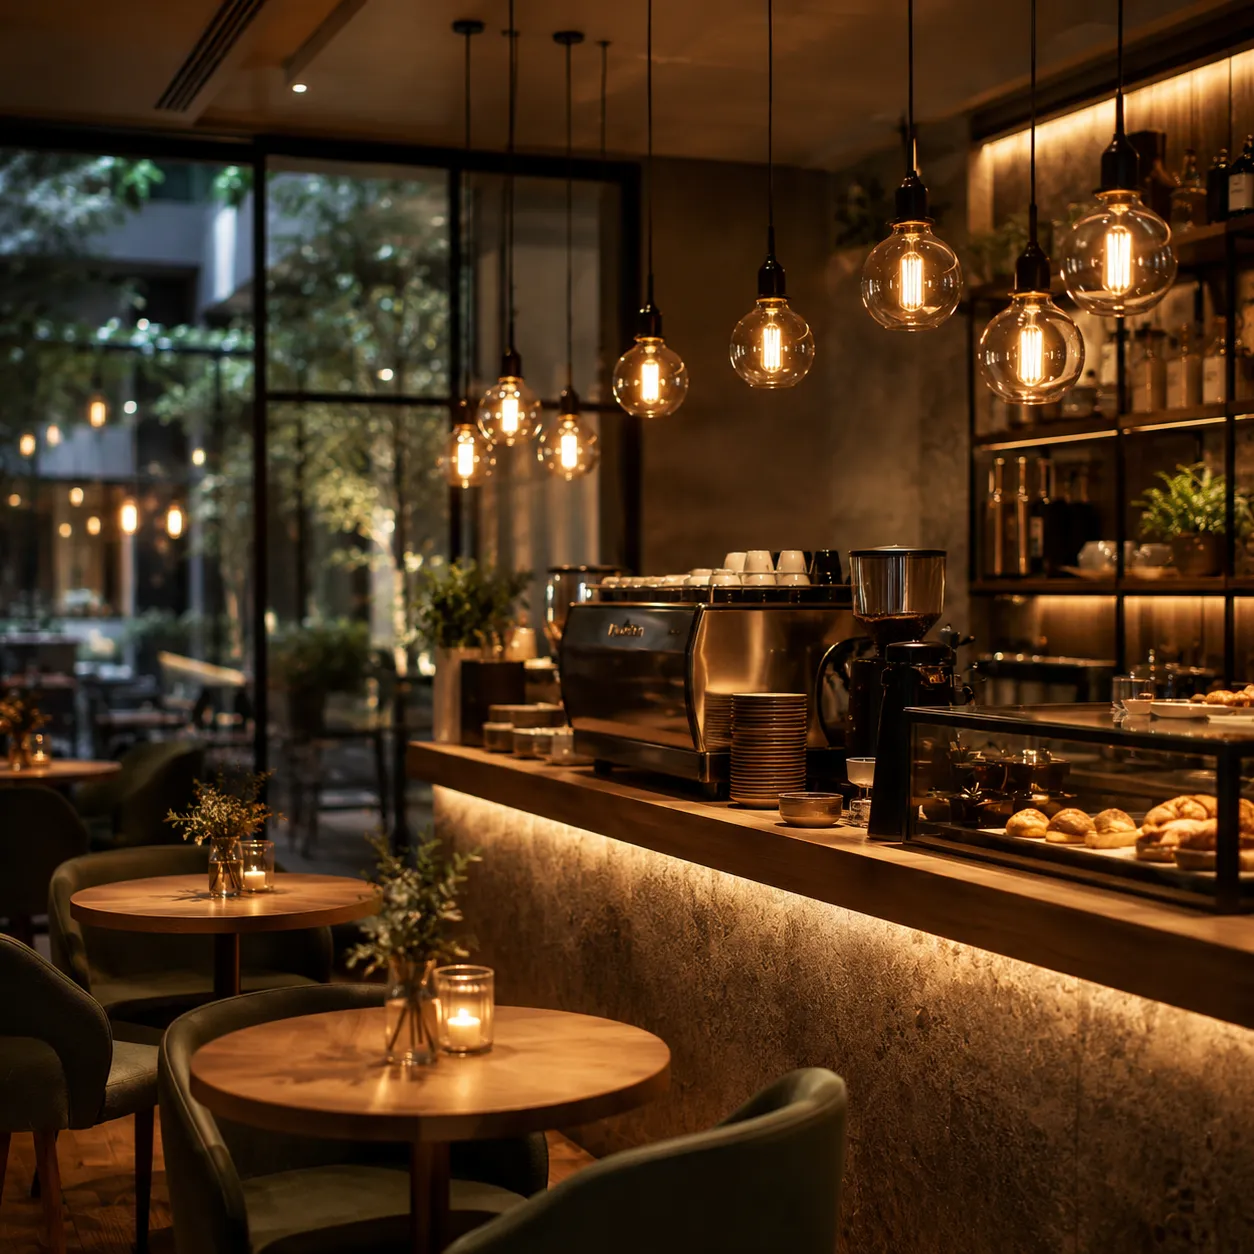
Use pendant bulbs above counters, seating areas and display tables. Warm glass colors and soft filaments help create a cozy coffee shop mood.
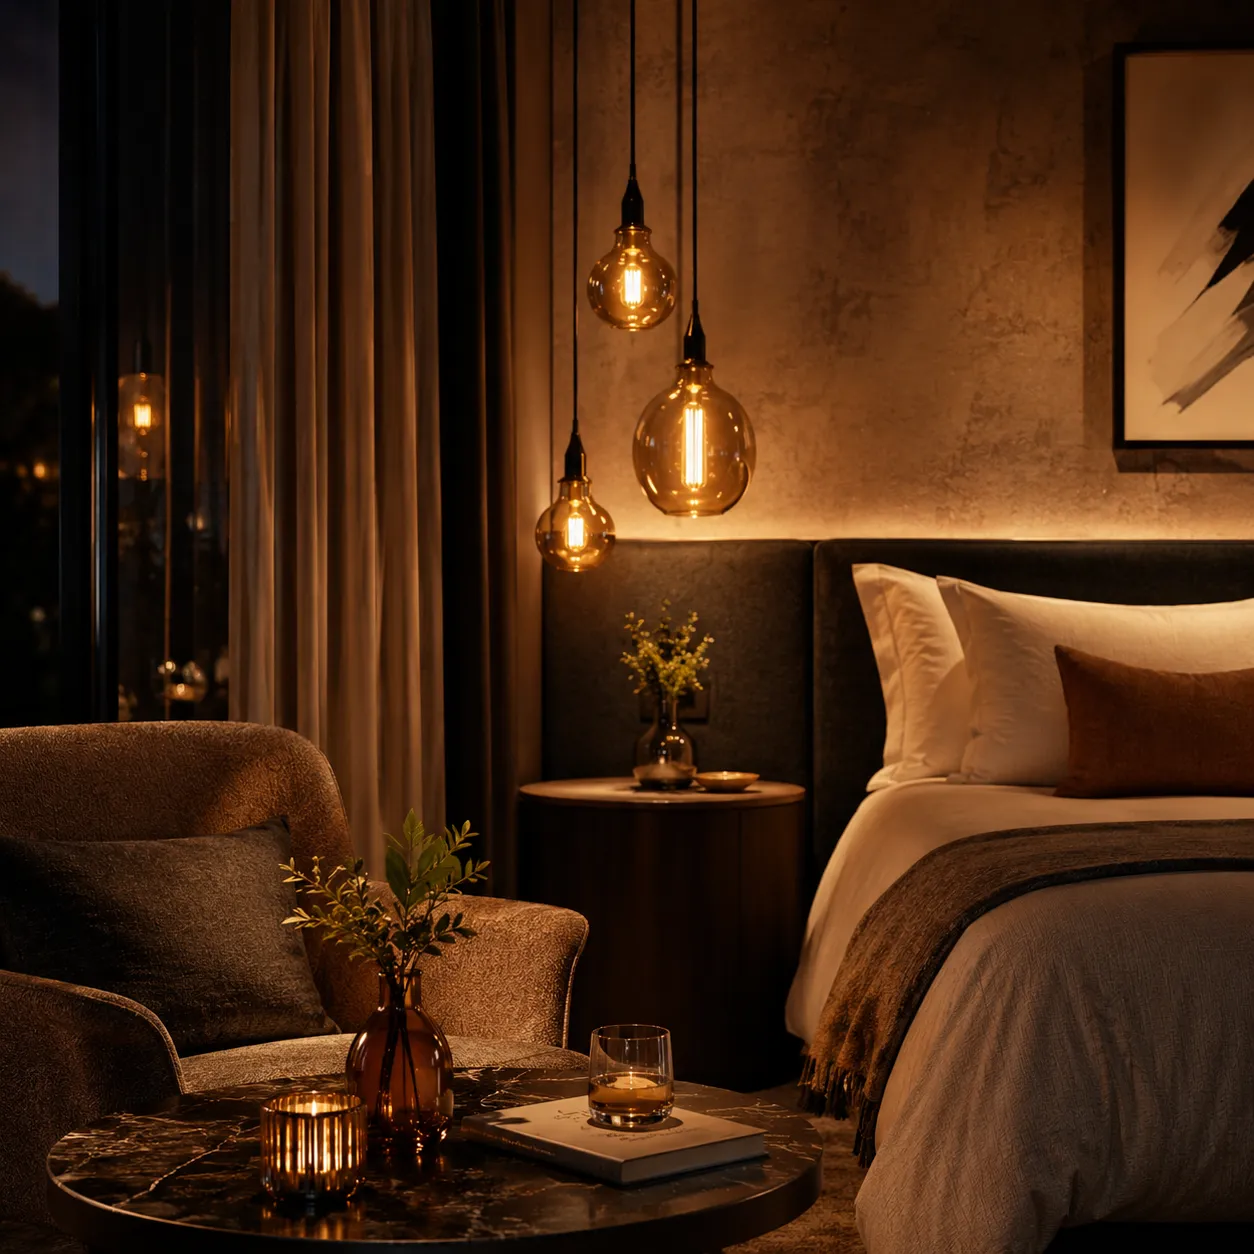
Use decorative bulbs in guest rooms, lobbies, lounges and bedside lighting. Dimmable versions are useful for reading, relaxing and evening atmosphere.
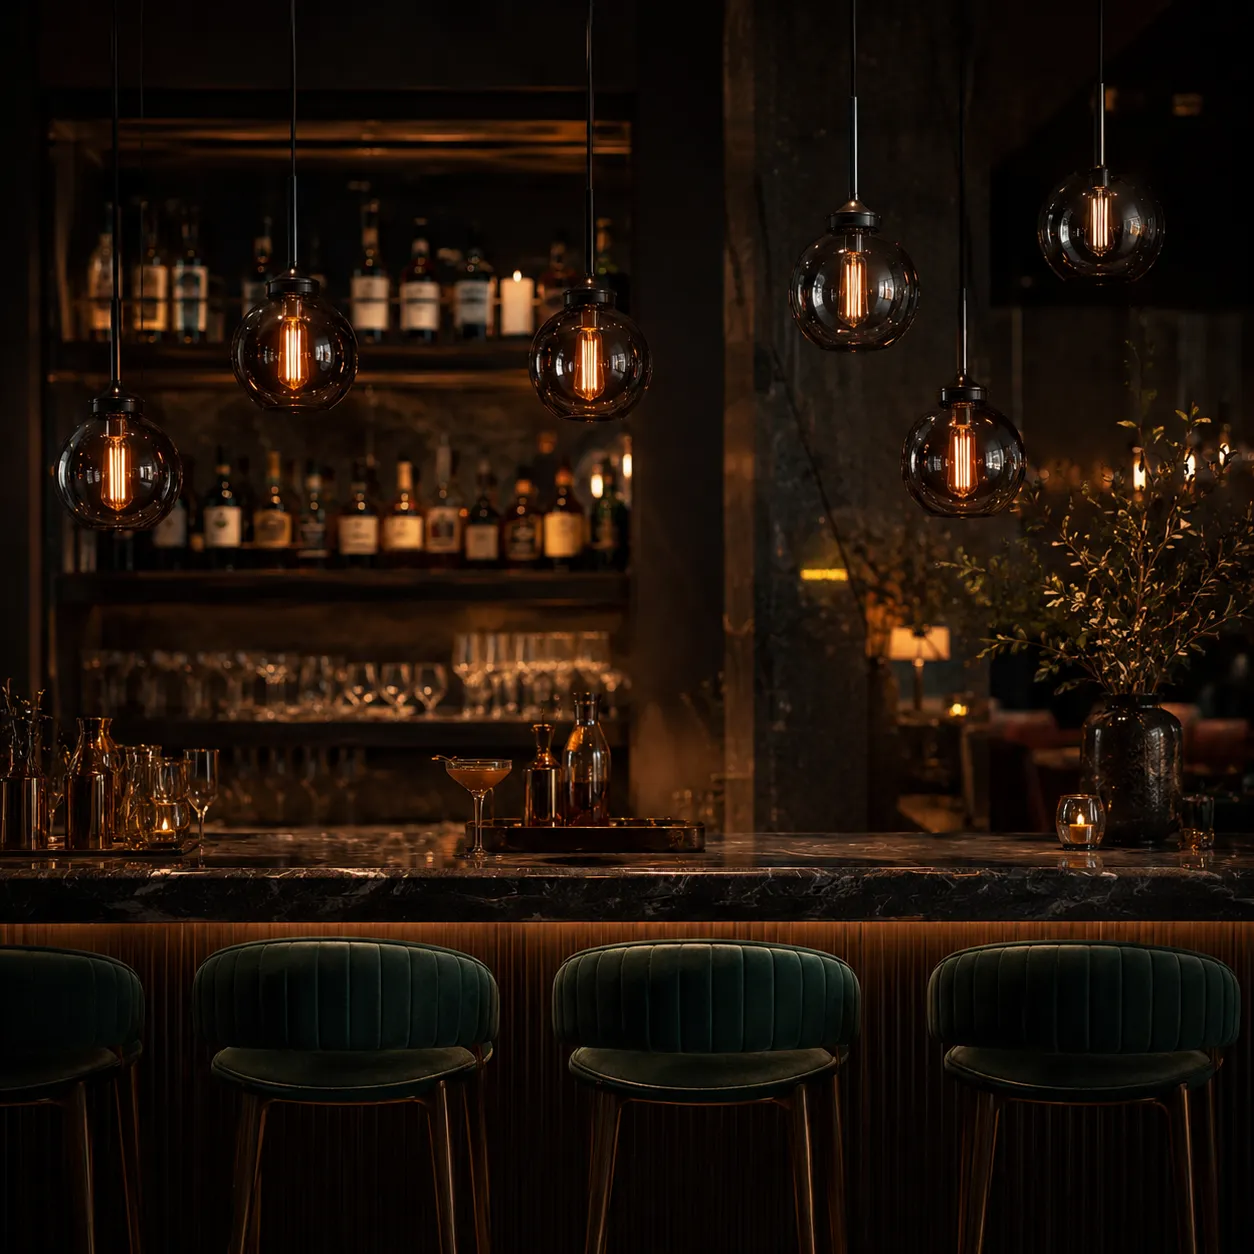
Use smoke gray glass, colored filaments or dimmable bulbs to create a deeper and more intimate lighting effect.
Use decorative bulbs for window displays, product zones, fitting areas and branded visual corners. Choose bulb shapes and glass colors that match the store identity.

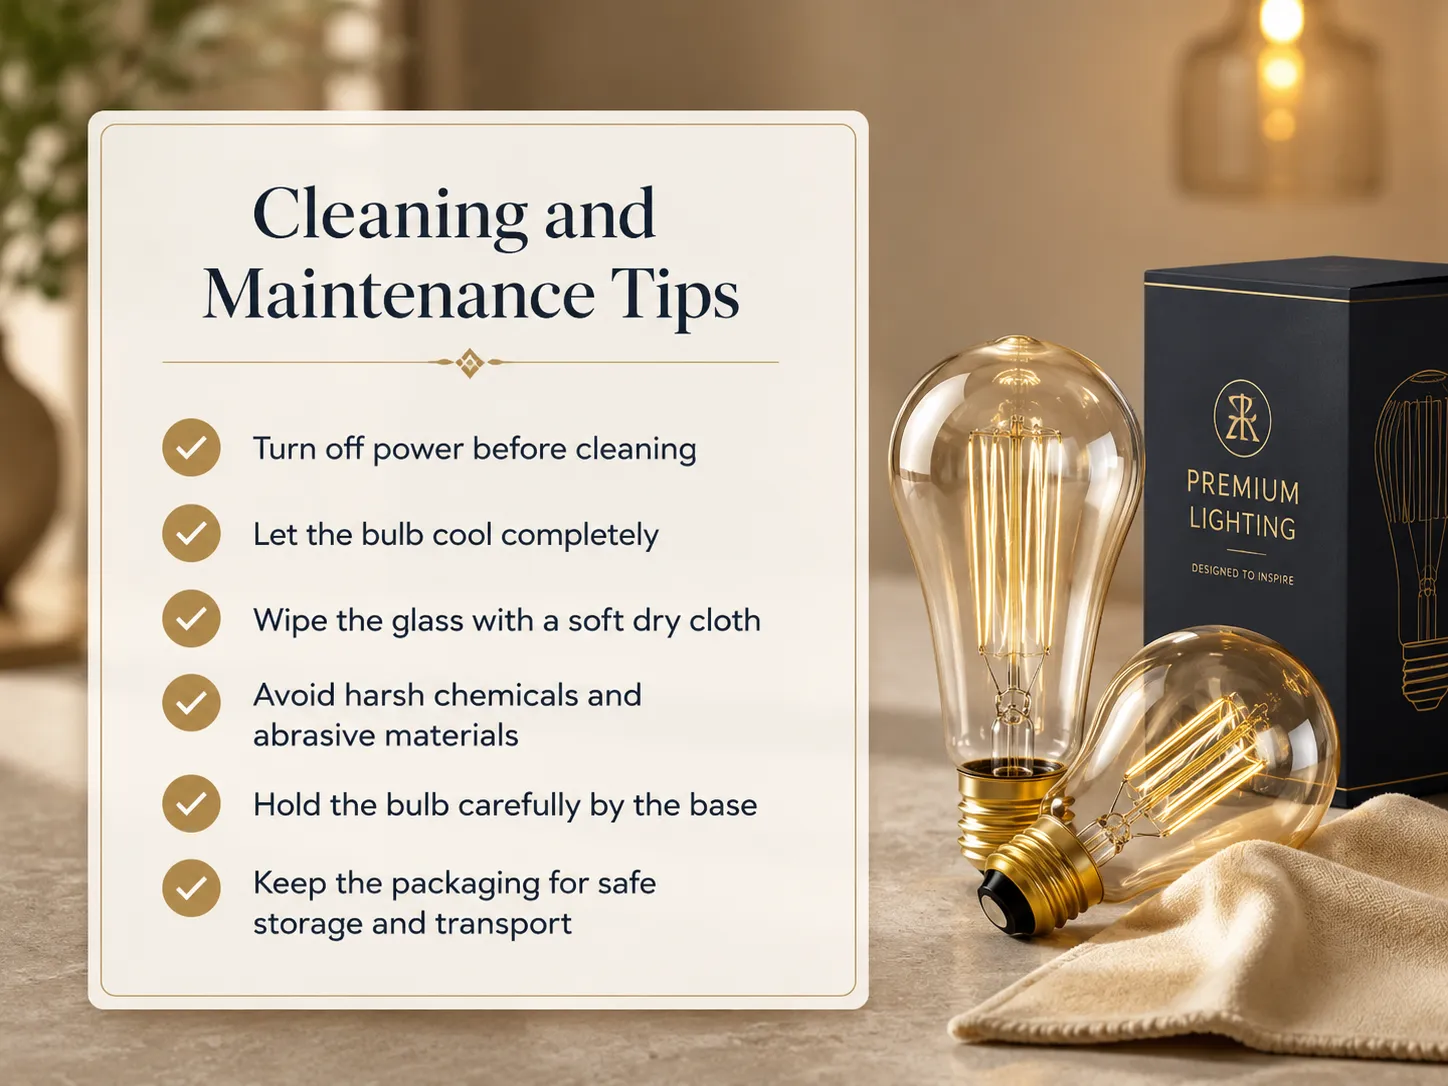
1:Turn off the power before cleaning or replacing bulbs.
2:Allow the bulb to cool before touching it.
3:Use a soft dry cloth to clean the glass surface.
4:Do not use strong chemicals directly on the bulb.
5:Avoid twisting the glass body too hard during installation.
6:Check the lamp holder and fixture before replacement.
7:Store spare bulbs in protective packaging.
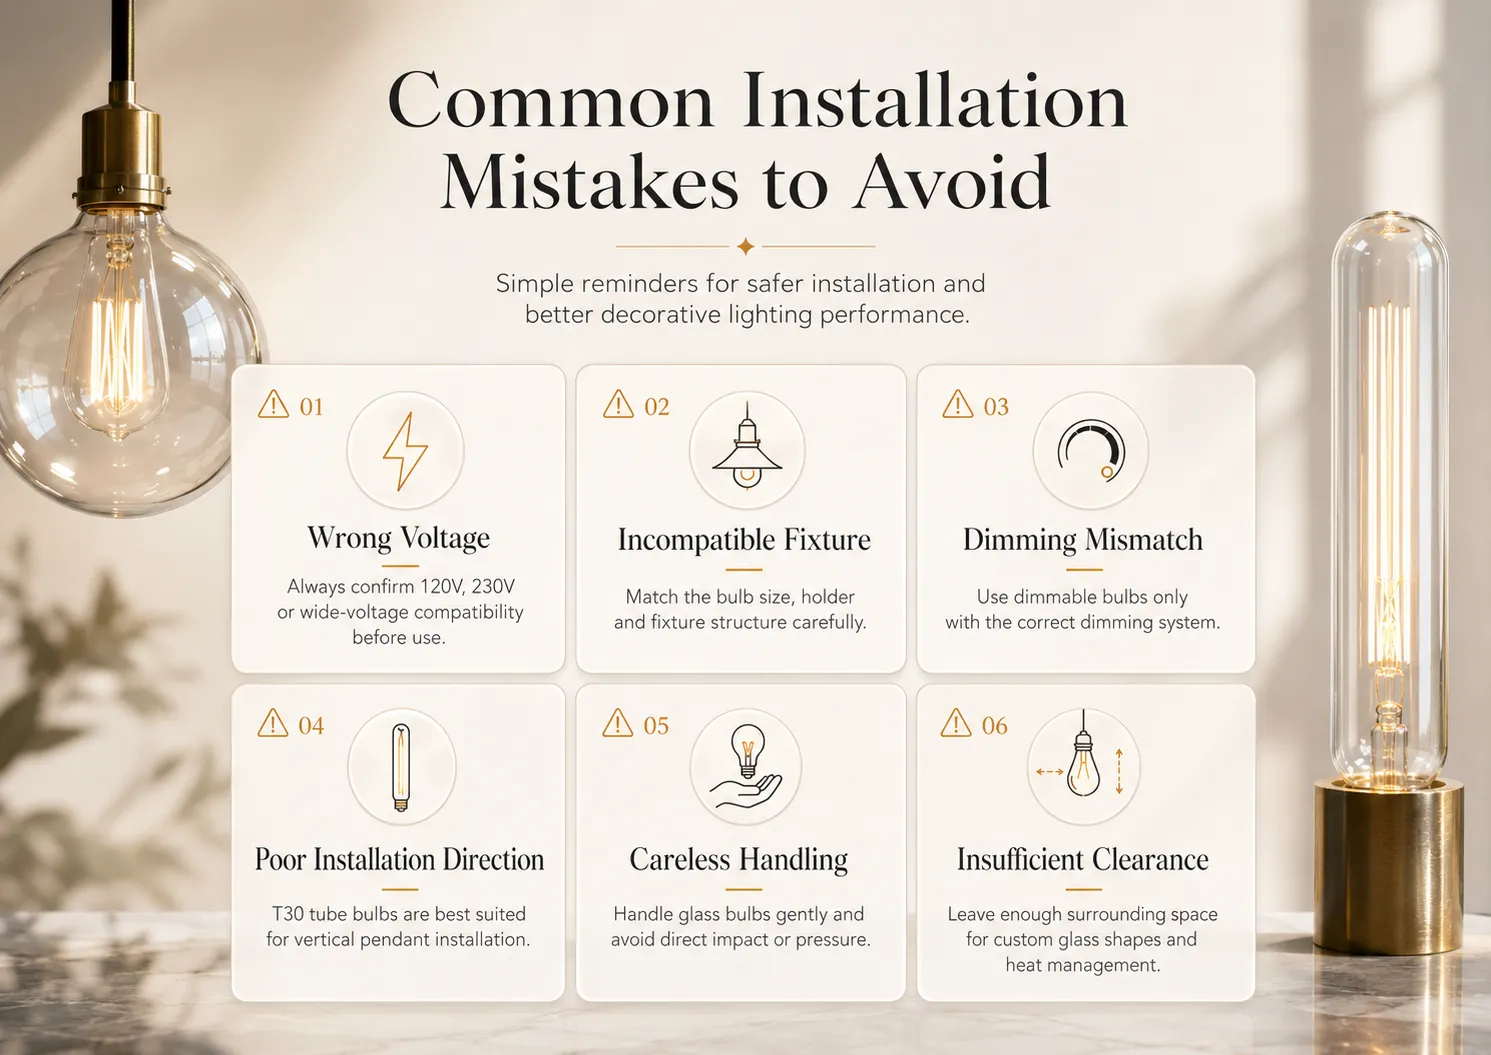
1:Avoid using the wrong voltage.
2:Avoid using dimmable bulbs with an incompatible dimming system.
3:Avoid installing long tube bulbs in spaces without enough vertical clearance.
4:Avoid touching hot bulbs directly.
5:Avoid forcing the bulb into the wrong lamp holder.
6:Avoid placing visible decorative bulbs where glare may affect guests.
7:Avoid using the same bulb style for every space without considering atmosphere and function.
We can help you choose the right bulb shape, voltage option, dimmable version, glass color, filament design and fixture direction for restaurants, cafes, hotels, bars, retail stores and branded interior lighting projects.
Contact us to discuss your decorative bulb installation requirements.